I have tested a lot of different open source software with the aim of replacing Trello. I stopped using them after 1 period of experience with the demo.
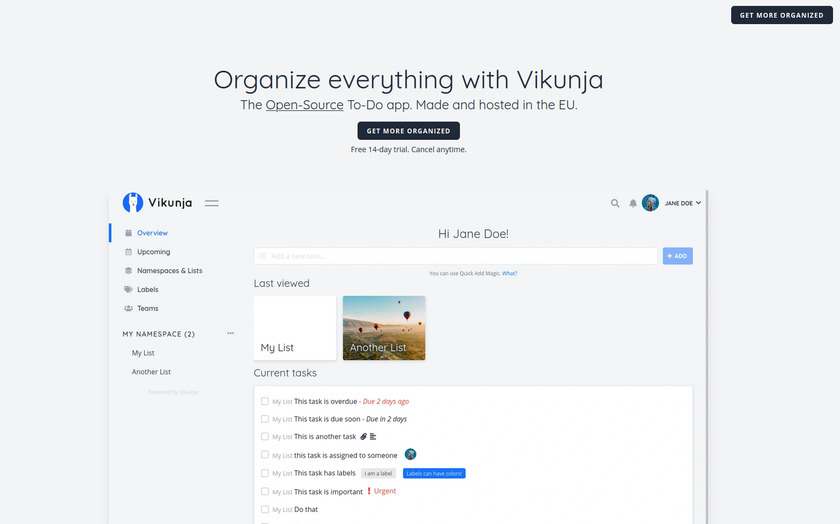
Only Vikunja made me stay. Vikunja is so beautiful. The most beautiful I’ve seen. It is also mobile-friendly.
And most of all, it fits my company’s needs.
But…
I am a newbie. I was confused for a long time. I don’t even understand the steps below.
This is a compilation of tutorials out there, organized and tweaked for a successful installation in my case.
Hope the steps below will help newbies like me.
Step 1: Prepare the server
1.1. Register for a VPS account
Refer to good VPS providers such as: Linode, DigitalOcean, Vultr, Amazon…
1.2. Server initialization
Select Linux Ubuntu 20.04 operating system. RAM, CPU parameters depending on the budget.
1.3. Login to SSH / root
Create a password for the Root account:
sudo passwd rootThen type the self-generated password. When typing it will not show any characters. Just type the password and press Enter
Then re-enter the password again.
Grant login permission for Root:
sudo nano /etc/ssh/sshd_configEdit:
PermitRootLogin prohibit-password to PermitRootLogin yes
PasswordAuthentication no to PasswordAuthentication yes
- Remove the # in front if any.
- Press Ctrl + O > Enter to save
- Press Ctrl + X to exit
Update changes:
sudo service sshd restartStep 2: Point the domain and setup SSL
I point the Domain Nameserver to Cloudflare
And set up DNS on Cloudflare to VPS
For example in my case, I use the subdomain task.sitebycat.com to install Vikunja.
p/s: The sitebycat.com website is located on a different server.
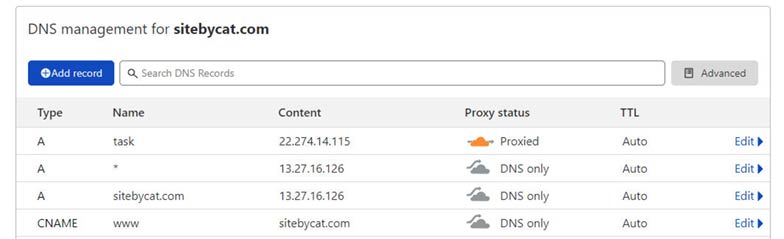
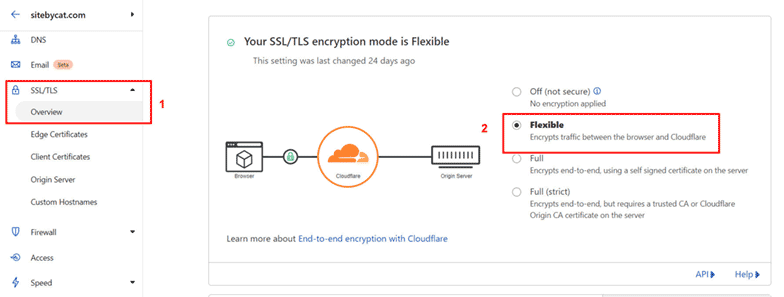
I also choose yellow cloud (Proxied) to take advantage of Cloudflare’s free SSL
Step 3: Install Portainer Docker Manager in Ubuntu 20.04
3.1. Install docker
Update the apt package index
sudo apt-get updateInstall the dependencies
sudo apt-get install apt-transport-https ca-certificates curl gnupg lsb-releasePress “y” if there is a question to confirm
Add docker’s official GPG key
curl -fsSL https://download.docker.com/linux/ubuntu/gpg | sudo gpg --dearmor -o /usr/share/keyrings/docker-archive-keyring.gpgNow run the following command to set up the stable Docker repository.
echo \
"deb [arch=amd64 signed-by=/usr/share/keyrings/docker-archive-keyring.gpg] https://download.docker.com/linux/ubuntu \
$(lsb_release -cs) stable" | sudo tee /etc/apt/sources.list.d/docker.list > /dev/null
Now update the repository index and setup docker-engine
sudo apt-get updatesudo apt-get install docker-ce docker-ce-cli containerd.ioPress “y” if there is a question to confirm
Once the installation is completed, reboot the system
sudo rebootWait about 2 minutes and connect SSH again. Continue typing the following command to enable docker service
sudo systemctl start dockersudo systemctl enable docker3.2. Install Docker Compose
Once the docker is installed, run the following command to install docker-compose on Ubuntu.
sudo curl -L https://github.com/docker/compose/releases/download/1.21.2/docker-compose-`uname -s`-`uname -m` -o /usr/local/bin/docker-composeSet the permission using the command:
sudo chmod +x /usr/local/bin/docker-compose3.3. Configure Portainer
Create a persistent docker volume to store portainer data
sudo docker volume create portainer_dataNow create the portainer container using the following command.
sudo docker run -d -p 9000:9000 -p 8000:8000 --name portainer --restart always -v /var/run/docker.sock:/var/run/docker.sock -v /srv/portainer:/data portainer/portainer-ceGo to your VPS firewall settings and open port 9000. The opening of this TCP port depends on your VPS provider
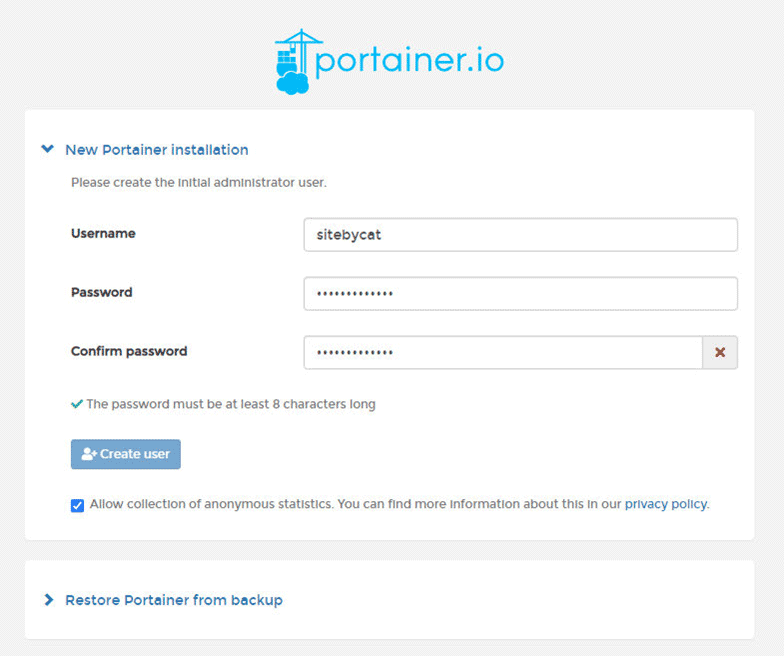
Browse your server’s IP address with port 9000 in the browser and create a user. (ex: https://22.274.14.1155:9000)
Step 4. Create Docker-Compose.yml file
Navigate to the directory where the Docker container is located
cd /srv/portainer/docker_configThen, create a new folder:
mkdir vikunja
Next, navigate into the newly created folder:
cd /srv/portainer/docker_config/vikunja
To create the docker-compose file for Vikunja, enter this command:
touch docker-compose.yml
Edit it:
nano docker-compose.ymlPaste the code below in.
version: '3'

services:
  db:
    image: mariadb:10
    command: --character-set-server=utf8mb4 --collation-server=utf8mb4_unicode_ci
    environment:
      MYSQL_ROOT_PASSWORD: supersecret
      MYSQL_USER: vikunja
      MYSQL_PASSWORD: secret
      MYSQL_DATABASE: vikunja
    volumes:
      - ./db:/var/lib/mysql
    restart: unless-stopped
  api:
    image: vikunja/api
    environment:
      VIKUNJA_DATABASE_HOST: db
      VIKUNJA_DATABASE_PASSWORD: secret
      VIKUNJA_DATABASE_TYPE: mysql
      VIKUNJA_DATABASE_USER: vikunja
      VIKUNJA_DATABASE_DATABASE: vikunja
      VIKUNJA_SERVICE_FRONTENDURL: https://task.sitebycat.com/
      VIKUNJA_SERVICE_ENABLETASKATTACHMENTS: 1
      VIKUNJA_SERVICE_ENABLEREGISTRATION: 1
      VIKUNJA_SERVICE_ENABLEEMAILREMINDERS: 1
      VIKUNJA_MAILER_ENABLED: 1
      VIKUNJA_MAILER_FORCESSL: 1
      VIKUNJA_MAILER_HOST: smtp.gmail.com
      VIKUNJA_MAILER_PORT: 465
      VIKUNJA_MAILER_USERNAME: [email protected]
      VIKUNJA_MAILER_PASSWORD: app_password_for_gmail

    volumes:
      - ./files:/app/vikunja/files
    depends_on:
      - db
    restart: unless-stopped
  frontend:
    image: vikunja/frontend
    restart: unless-stopped
  proxy:
    image: nginx
    ports:
      - 80:80
    volumes:
      - ./nginx.conf:/etc/nginx/conf.d/default.conf:ro
    depends_on:
      - api
      - frontend
    restart: unless-stopped
Don’t forget to change the content in the lines:
- VIKUNJA_SERVICE_FRONTENDURL: https://task.sitebycat.com/
- VIKUNJA_MAILER_USERNAME: [email protected]
- VIKUNJA_MAILER_PASSWORD: app_password_for_gmail
Press Ctrl + O > Enter to save. Press Ctrl + X to exit
Step 5: Create Nginx.conf file
Navigate into vikunja folder
cd /srv/portainer/docker_config/vikunjaCreate a new file called nginx.conf:
touch nginx.confEdit it:
nano nginx.confPaste this in:
server {
    listen 80;

    location / {
        proxy_pass https://frontend:80;
    }

    location ~* ^/(api|dav|\.well-known)/ {
        proxy_pass https://api:3456;
        client_max_body_size 20M;
    }
}
Press Ctrl + O > Enter to save. Press Ctrl + X to exit
Step 6: Confirm both files have been created
To confirm both files have successfully been created, you can simply run this when in your Vikunja directory
lsStep 7: Launch and Run Vikunja Containers
Launch the containers.
sudo docker-compose up -d
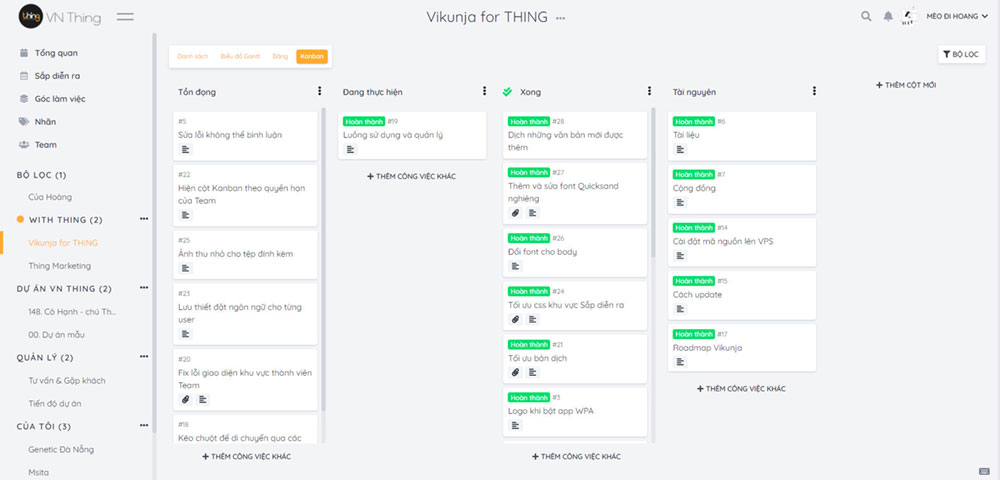
Step 8: Climb on the back of Vikunja camel and ride it
All near as complete.
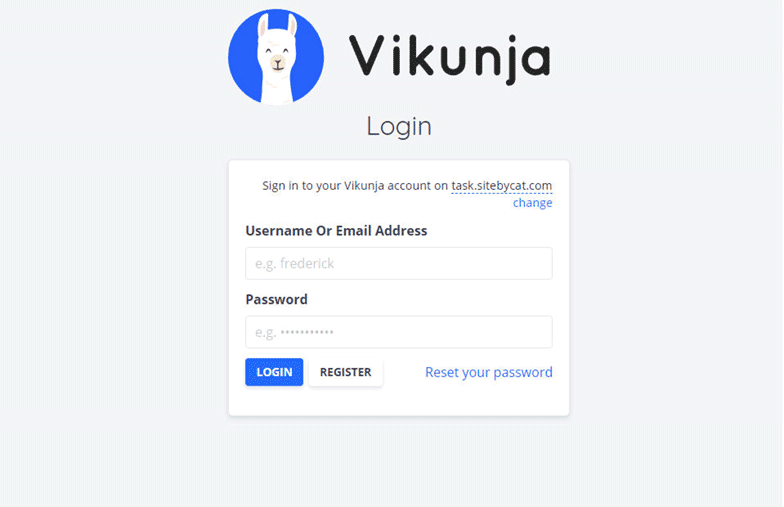
Now I can access https://task.sitebycat.com to use Vikunja
Create a new account and login
Explore a new land on the back of a Vikunja camel.
Wish you have a great experience
References: